Having failed to start a proper regime in sourcing, pressing, drying and mounting Herbarium specimens (5% of our overall grade), I took a calculated risk and went to sea.
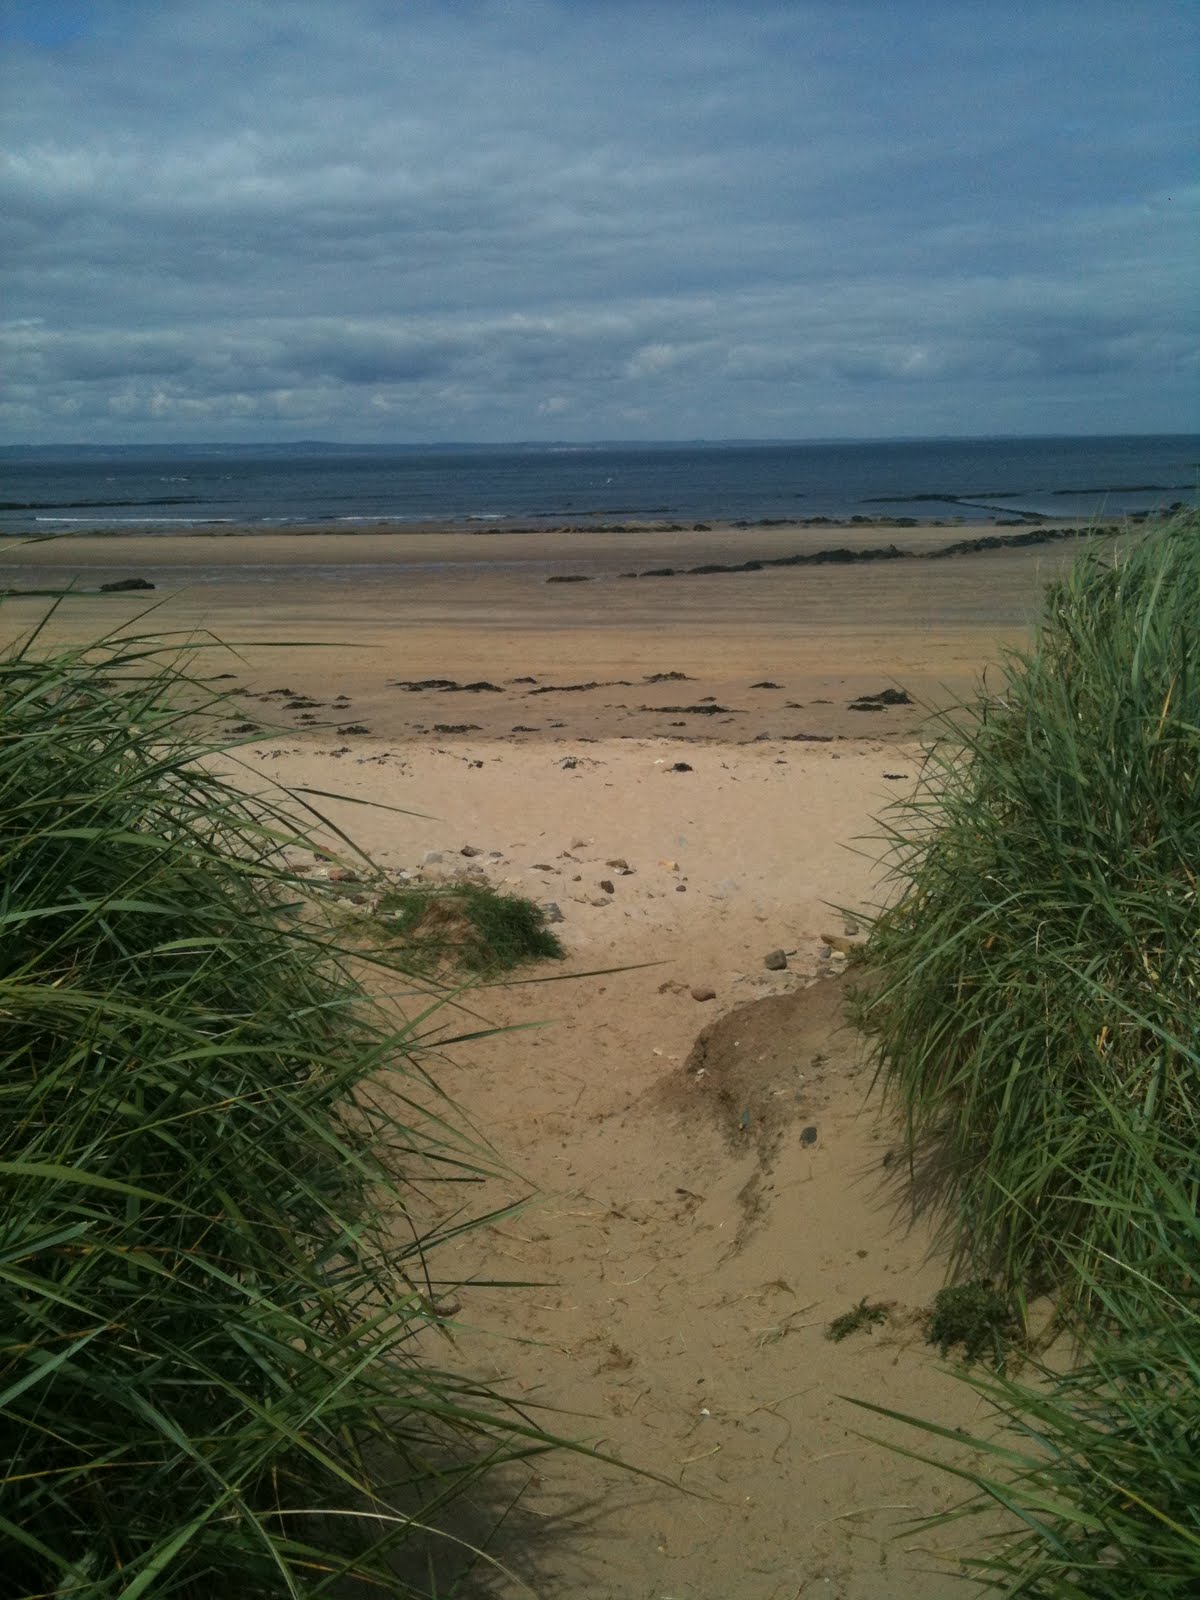
Encouraged that no Herbology student had done any before (great, no comparisons) and that both the products and processes were within reach, I set off to capture our underwater garden.
But how? The Herbarium staff recommended floating seaweed in the bathtub and then lifting them out onto a bit of muslin cloth. Having only seen Victorian collages of floriforous concoctions, that didn’t seem too easy. Ally came to my rescue with a link to the Cryptogamic Botany Company who had a 7 page manual on ‘How to’.

The process is simple (relatively):
1. Collect seaweed at low tide from pools, sand, stones or rocky shore. Keep in separate plastic bags of sea water (soon abandoned for 1 large bucket) and take note of where it was growing, holdfast, location and date, etc
2. Collect additional bottles of seawater for cleaning and processing

3. Wash a large 3” deep tray (type used for old-fashioned photography developing) and fill with about ¼ inch filtered sea water
4. Soak your Herbarium paper face down and then turn right side up in tray, so only just covered in nanometre of water

5. Clean seaweed specimen of all sand, grit, snails, other seaweeds and gunge and lay on paper.

6. Using tweezers, toothpicks, paintbrushes, fingers and gravity, arrange specimen to best advantage, removing stray and overlapping bits.
7. Pull paper from tray (seaweed should stay put by osmotic force) and drain water at shallow angle
8. Place on pile of dry newspaper, make any final tweaks to arrangement, cover with muslin cloth, more newsprint and press down to remove as much water as possible.
9. Place paper with muslin still on it in your press with new blotting paper and newsprint to absorb residual water.
10. Cover press with stones/ irons/ heavy objects found in greenhouse and leave to dry 2 hours. Change newsprint again, then leave to dry for 2-3 days for thin seaweeds, a week or more for thick ones.
The joy was that all of that is transcendental…

The problem came when trying to identify them…. whoops (add to number 1 on list above, ‘ only collect seaweed that you can reasonably identify’. I read and re-read every page of Hamlyn’s Guide to Seasides and Shallow Waters (thanks for that, Greg) and then started on the internet. There are lots of sites and lots of experts out there, but sometimes they don’t confer, so a seaweed identified as Rhodomenia psuedopalmata on one site is listed as Rhodomela lacinata on another and Palmaria palmata on another. And do you know how many Polysiphonias there are???


And here they are!


5 comments:
Congratualtions on all your hard work - it has really paid of and what a lovely Blog you have produced, informative and engaging. And, I love the photos! ;-)
Hello Sarah, I loved your blog which I found by accident. Your success in creating pressed seaweed images was impressive - When there is time I would like to do this - such amazing plants. Best wishes Elspeth Gibb form Seaweed Organics
Thanks so much Sarah - so useful. Fiona x
For four years, I lived with the constant worry and discomfort of oral and genital herpes. I tried every medication available, but nothing offered a lasting solution. The stigma felt heavy, isolating me and fueling my anxiety.
Then, I discovered Dr. Utu's herbal remedy online. Initially skeptical, I contacted him via email.
'drutuherbalcure@gmail.com'
To my surprise, he responded with genuine compassion, understanding my situation, and tailoring a personalized herbal treatment.
I committed to following his instructions diligently, and throughout the process, Dr. Utu remained supportive, checking in on my progress. Upon completing the treatment, I underwent medical tests.
The results were astounding: I was herpes-free! A second test confirmed the results, bringing me profound relief and liberation. The stigma I carried for so long lifted, and my quality of life improved dramatically.
Dr. Utu's herbal remedy not only offered physical healing but also restored my confidence and gave me peace of mind. If you're struggling with herpes, consider reaching out to Dr. Nze Utu Njoku on his direct email
"drutuherbalcure@gmail.com,".
His herbal remedies represent hope and healing.
I'm taking a moment to express my profound gratitude and share my journey towards healing. For five long years, I lived with the burden of herpes, searching tirelessly for a solution and praying fervently for a miracle.
Despite physical and emotional challenges, I remained determined to find a remedy. A month ago, I searched online and stumbled upon numerous testimonials about different healing methods and practitioners. One name resonated with me: Dr. Utu.
Many people praised Dr. Utu's unique approach to healing. Intrigued and hopeful, I contacted him via drutuherbalcure@gmail.com. Although initially skeptical, my instincts urged me to trust the process.
Dr. Utu responded promptly and compassionately, providing details about his herbal medicine and treatment regimen. With clear instructions, I began the four-week treatment, committed to the process.
As the days passed, I noticed subtle changes that evolved into significant improvements. After completing the treatment, I underwent a medical test, and to my immense relief and joy, the results came back negative.
Overwhelmed with tears of joy and gratitude, I felt a weight lift off my shoulders. This experience transformed my health and inspired me to share my testimony with others facing similar challenges.
I'm deeply thankful to Dr. Utu for his crucial role in my journey to wellness. I feel compelled to spread the word about his healing work, reminding me daily of this incredible turnaround and the blessings that followed.
Post a Comment